
Apis And Javascript
How to Use Javascript to Use API Data
We will work through how to pull API Data into Javascript. In this example, I use the public API from ImgFlip which provides images for memes. The end goal is to be able to flip through the images with two buttons, next and previous.
What Exactly Are APIs?
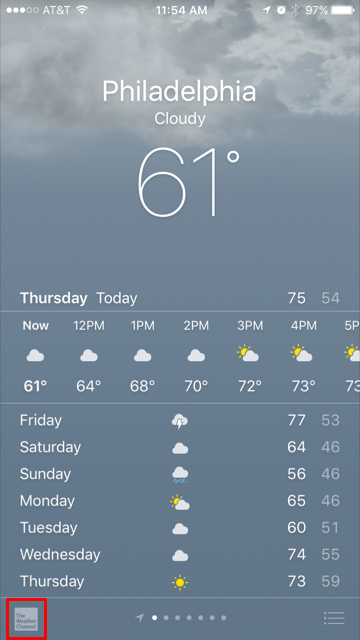
If you are a programmer, you will likely come across APIs, or Application Programmable Interface. They are crucial for different apps and services to exchange information. APIs can be used to get information through third party services. For example, when you use the weather app on an iPhone, Apple has not gone out to place thermometers around the world, but instead uses The Weather Channel API.
Similarily, I’ll be using ImgFlip’s API to access the library of images as a basis for a Single Page Application. With this tool, I will be able to pull or fetch the data into my application without the need for storing it locally.
Fetching API Data
First, we use the fetch function with an argument identifying the path to the resource, our API. Next, we need to work with the response which is a stream of data that returns a promise. We can do these two steps simply by using async and await. Because fetch is an asynchronous, we need add await to wait on the fetch result to store it in our variable which I will call response.
async function getMEME() {
        const response = await fetch(`https://api.imgflip.com/get_memes`);
        }
Complete data and grab the data in the body of the response. We need to read that data and store it in a format that we can work with (this can be in the form of text, image data, array, JSON or Javascript Object Notation). Finally, you will need to call that function to display the API array of data.
async function getMEME() {
        const response = await fetch(`https://api.imgflip.com/get_memes`);
        const memedata = await response.json();
        }
getMEME()

You’ll notice in the memedata array from the ImgFlip API has a drill-down of data -> memes -> an array of objects. Within each object, we have the object keys: id, name, url, width, and height. Since we will be interested in the url key, this drill-down becomes memedata.data.memes.url.

Connecting URL Data to HTML
We are interested in using the url key and displaying an image in the DOM Element with that data. To do this, we need to connect our HTML to the javascript. Since we will be adding a button feature to work forward and backwards through the array, I will be using [i] as a placeholder where i is the index. For this part, only the first meme will display. Remember, the first index of an array is zero, not one.
HTML:
<img src="" id="image" width="300px">

Javascript:
var i = 0;
memeCurrent = memedata.data.memes[i]
image.src = memeCurrent.url
Adding a Next Button
To add a button, we will need to add an Event Listener which responds to a mouse 'click'. We simply want it to start at i = 0 which we claimed above and step through at each click by i + 1 otherwise denoted as i++. I will call this button with a button id of “increment” and add the function as follows:
HTML:
button id="increment">next</button>

Javascript:
increment.addEventListener('click', function() {
            i++
            memeCurrent = data.data.memes[i]
            image.src = memeCurrent.url
            }
Voila! You should be able to click forward through the array and display images. See if you can make a previous button to move backwards through the array and display the previous image!

Check out the full code here:
https://github.com/vanessawagner/phase-1-final-project